Step 1: Navigate to the User’s Profile
To begin restricting access by IP, first open the HR user’s account.
- Go to the User Accounts menu.
- Select Edit Existing Users.
- Enter the user’s email address (username) and click Search.
- In the user’s profile, scroll to the Add/Remove IP Address section (right below the security questions).
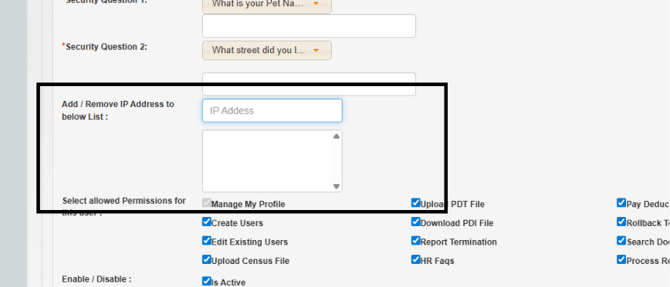
Step 2: Restrict Access by IP Address
Use IP controls to limit where the user can access the system.
- In the user profile, locate the Add/Remove IP Address section.
- Enter the IP address of the device or network the user is allowed to access BeneMoney from.
- You can enter more than one if needed.
- Save the changes by selecting the “Update Customer” blue button at the bottom of the screen.